Epoxy Flooring Installation Step-by-Step
Epoxy Flooring Installation Step-by-Step

Epoxy flooring is a multi-step process that can typically be accomplished in one to two days, depending on the floor size, pattern complexity, and epoxy flooring style.
In this article, we’ll take a closer look at the installation process and explain it step-by-step so you can know what to expect! Continue reading to learn more!
Why Hire a Professional?
When it comes to professional-grade epoxy flooring, you should always hire a professional for the best results. Even a simple mistake when installing this floor can result in starting the project over from scratch. Nearly finishing a floor and needing to start over due to an error can actually cause you to spend more money than if you’d simply hired a pro from the start!
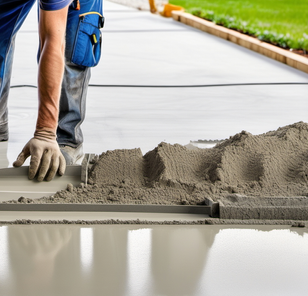
Step 1: Cleaning, Inspection, & Repairs
Repairing cracks is accomplished by using an injectable epoxy filler to prevent the cracks from spreading or worsening. Chipped areas will be fixed with a standard concrete patch to prevent them from worsening. Minor damage, such as pits, dents, or unlevel spots don’t need repairs as they’ll be addressed in the next step.
Step 2: Surface Preparation
Surface prep is performed by using a floor grinder fitted with a coarse diamond grinding wheel. The concrete is ground down to remove any minor blemishes, ensure the surface is level, and open the floor up to ensure proper adhesion. Once the grinding is complete, your contractor will move on to the next step.
Customization
If you want a pattern on your floor, it will be created during this step. Each layer is mixed and applied as the previous layer is dried. Once all the colored layers of epoxy are in place, a clear epoxy topcoat is used to finish the floor.
If you chose metallic epoxy flooring, the metallic pigments that give the floor its trademark shimmering appearance would also be mixed in during this step. If you selected a decorative flake epoxy floor, the acrylic chips would be applied over the epoxy’s final layer before the clear topcoat.
Step 4: Curing
After 24 hours, the epoxy floor will be 90% cured and safe for foot traffic. After 72 hours, the epoxy floor is 100% cured and ready for full use, including vehicle traffic. Once the floor is fully cured, sit back, relax, and enjoy your brand new epoxy floor!
Tips for Finding Quality Concrete Services Near You
We've all been there - overwhelmed by the countless options when it comes to finding quality concrete services. Whether it's a home renovation or a commercial construction project, the search for the right contractor can be daunting. But fear not! We're here to help....
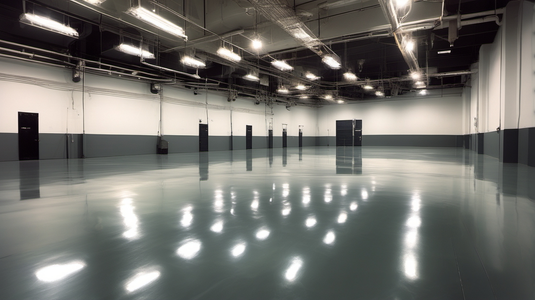
Industrial Floor Polishing: The Benefits of a Professional Touch
We've all been there - struggling to maintain the cleanliness and durability of our industrial floors. But fear not! With a professional touch, industrial floor polishing can provide a range of benefits that you don't want to miss out on. From enhanced durability and...

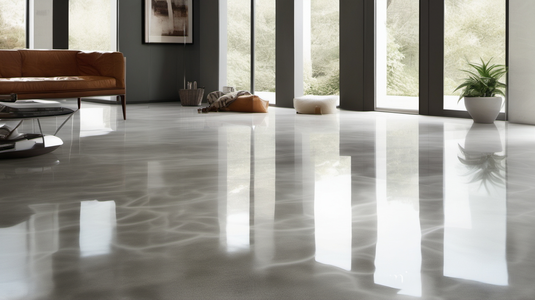
The Benefits of Professional Concrete Floor Polishing Services
Are you looking to transform your dull and worn-out concrete floors? Look no further! We've got the solution for you. In this article, we'll explore the amazing benefits of hiring professionals to polish your concrete floors. From enhancing the aesthetics of your...
The Benefits of Professional Cement Floor Polishing
We, as homeowners and business owners, know the importance of having clean and polished floors. That's why we're excited to explore the benefits of professional cement floor polishing. By choosing this service, we can transform our worn-out floors into sleek and shiny...
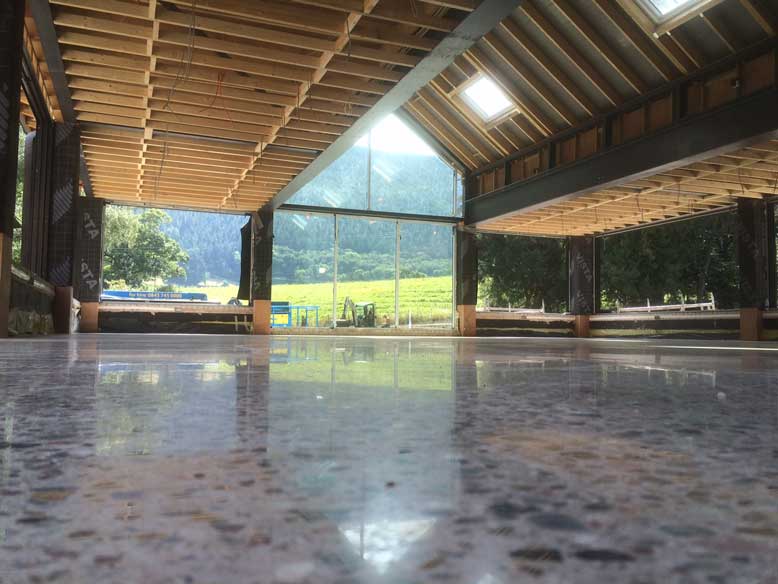
How to Install a Polished Concrete Floor
Are you looking for an affordable, durable, and easy-to-maintain flooring option for your home or business? If so, consider polished concrete! Polished concrete floors are growing in popularity due to their many benefits. They are also relatively easy to install if...